
If you’ve ever added a splash of store-bought almond milk to your morning cuppa and taken a sip, only to realise that your freshly brewed cup has now been spoilt by a watery substance with a cloud of floaties, you’re not alone.

The washed-out, unpleasant taste of most commercial almond milks not to mention their high price and additives and preservatives make them an unattractive option when it comes to replacements for dairy.
Whether you have children with lactose sensitivities, or you just choose not to feed your family dairy, making your own nut milk at home is a great option, both in terms of cost, health benefits and importantly flavour.
Dearna from To Her Core shows us how to make nut milk:
Step 1: Choose your nuts 
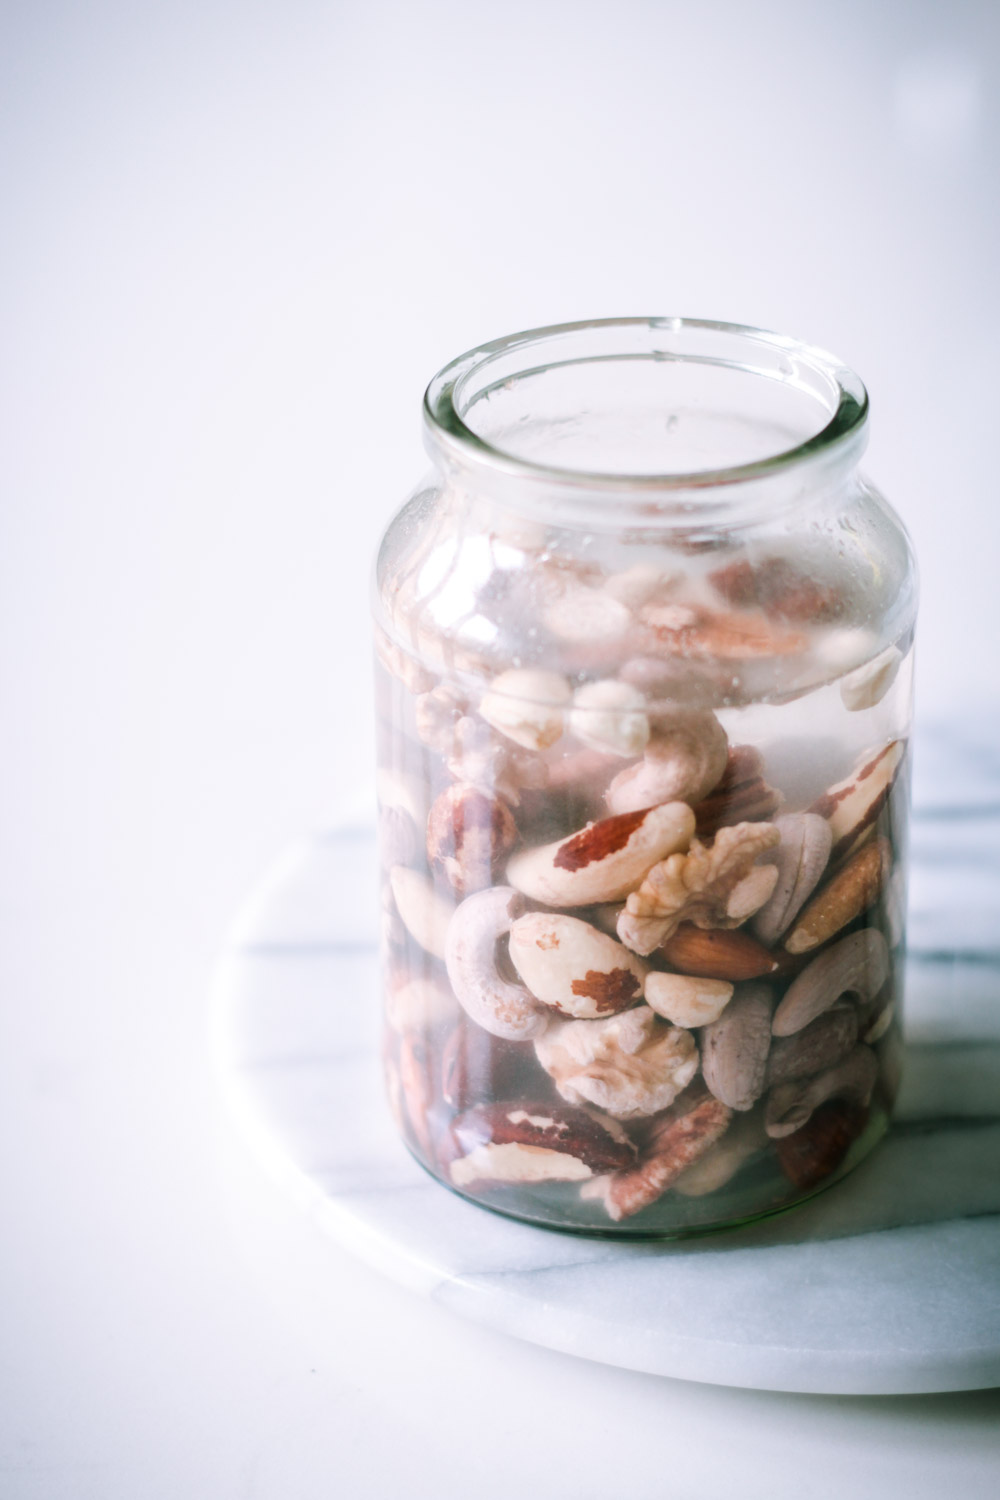
Any type of nut can be used to make nut milk. The most common are almond or cashew, with macadamia nut being my absolute favourite (it has the most subtle taste and a beautifully creamy texture). If you’re unsure, try a mix of nuts cashew and macadamia nuts will yield the creamiest milk so be sure to include a few of those in your mix.
Step 2: Soak your nuts
Once you have selected the nuts of your choice, add them to a large glass jar or container and cover with water as a rule, it’s a good idea to use about twice the amount of water here to nuts, so if you have one cup of nuts, cover with two cups of water.
The soaking here has two purposes Firstly, it softens the nuts, allowing them to be blended more easily and resulting in a creamier consistency for your milk, and secondly it boosts the nuts nutritional benefits. Nuts and seeds (along with most grains and legumes) contain enzyme inhibitors which can reduces the digestibility of them, and phytic acid which can reduce the amount of nutrients that your gut is able to readily absorb. By soaking them first, you minimize both the phytic acid and enzyme inhibitors, thus boosting the nuts nutritional content.
While some nuts can be soaked in only a few hours to be blended smoothly, to ensure maximum nutritional benefits, you want to soak your nuts at least 7 8 hours. I usually soak mine overnight, though of course you could choose to soak them during the day as well.
Simple cover the nuts with water, place a cloth secured with a rubber band, or a loose fitting lid on the jar, and then leave on the counter to soak.
Step 3: Rinse your nuts
This step is pretty self-explanatory, but important. The water that the nuts have been soaking is needs to be discarded after the allocated soaking time do not use this water to blend with your nuts. Also give your soaked nuts a good rinse under running water.
Step 4: Blend away!

Once the nuts are soaked and rinsed, add them to a blender with 2 to 3 times the amount of water to the amount of nuts you started with ie if you soaked one cup of nuts originally, add 2 3 cups of fresh water. The amount of water will dictate how creamy the end product is – personally I like my nut milk to be quite creamy, so I add twice as much water as nuts, but it’s really up to your own personal preference.
Blend the nuts on the highest setting for at least one minute. The total time will depend on the speed of your blender. If you have a high-powdered blender such as a Vitamix or Blendtec a minute should do, whereas other blenders may take a few minutes.
Step 5: Strain your milk

Once you have finished blending, pour the milk into a nut bag over a large bowl. Twist the top of the bag and squeeze the contents to remove as much liquid as possible.
Once you’ve strained as much milk as possible, you can transfer it to a glass bottle and store in the fridge for 3 to 4 days. Alternatively, you can flavour all or part of the milk using one of the suggestions below
Vanilla + cinnamon
1 cup nut milk
1 2 tsp raw honey
Seeds from half a vanilla pod (or 1 tsp vanilla extract)
½ tsp cinnamon
Pinch salt
Chocolate milk
1 cup nut milk
½ Tbsp raw cacao powder
1 medjool date
Pinch salt
Berry milk
1 cup nut milk
1 medjool date
½ cup mixed berries
½ tsp raw cacao powder

To make any of the above flavourings, simply add all ingredients to a blender and blend until smooth. Serve straight away, or store a day or two in the fridge. Alternatively, freeze in ice-cube blocks in the fridge to then add in to your smoothies or baking as needed.
What to do with the left over nut pulp?

One issue with making your own nut milk is all the leftover pulp it produces. You can add the pulp to your batter next time you bake a cake, or feed to your compost, but you can also use it to make dairy free cheese or my current favourite, fudgy chocolate cookies.
For more whole food how to’s, check out
To Her Core’s free eBook here.

“Healthy eating doesn’t need to be difficult or expensive. One of the easiest ways to eat well is by being prepared, and this starts with have a well-stocked kitchen.” Dearna – To Her Core


